
To make details pop out, you can use the “double up” method to raise them from 2D into 3D!
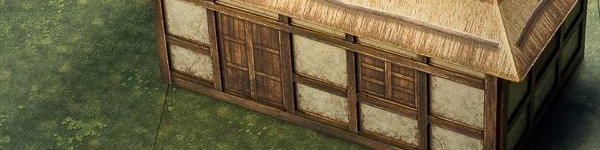
Look at this house from the Samurai Village Builder series. This looks great as it is and it is built very fast. If you want to have a full village and not much time to spend, this is the way to go! 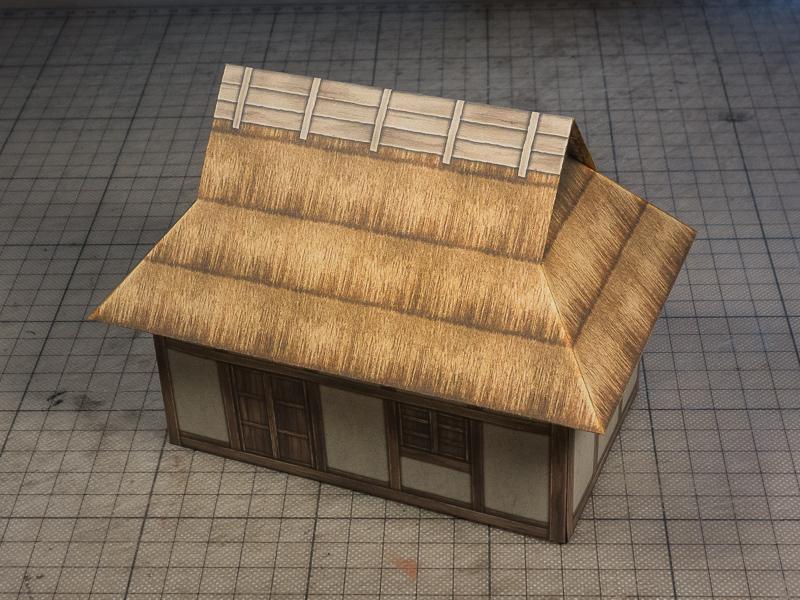
But if you want to make a “hero” version of this house – maybe for a diorama to showcase a figure you have painted – you can use the “double up” method to make it look so much better.
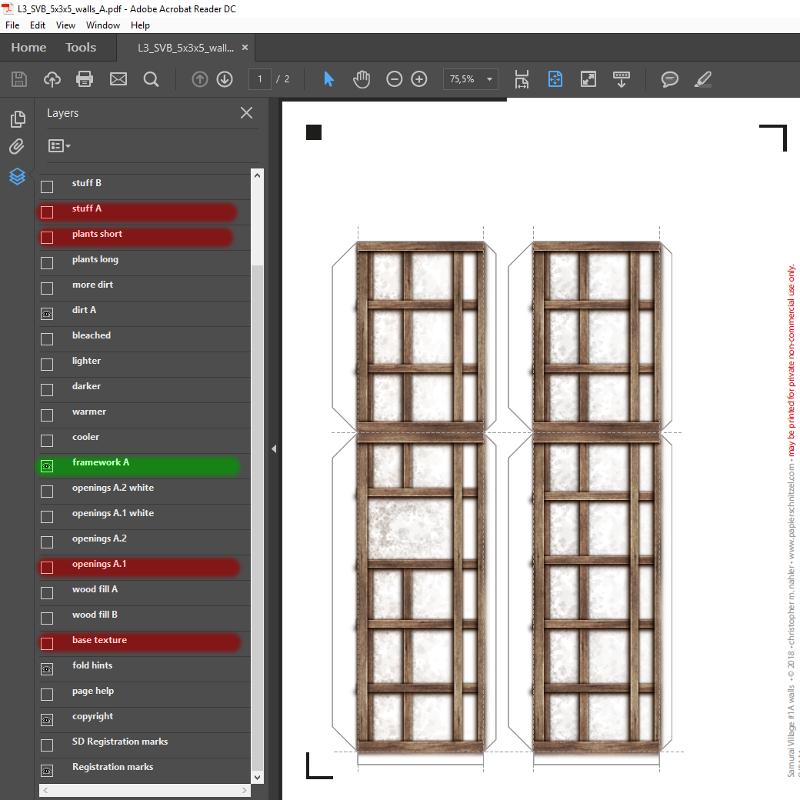
To make the details pop, you need them printed on thicker paper or card stock. Some paper models provide special detail parts pages. In this case we only have the walls page. But using the layer options we can switch off all the background textures.
When you open the PDF file, it will look like this with the layer panel open to the left. If you do not see the layer panel, just click on the blue icon on the left side. 
If you make sure to let the framework layer stay visible (highlighted green) and turn off all the background (and unnecessary foreground details) layers (highlighted red), you will see this to print.
Print this on thicker paper or card stock. I use 300gsm paper which is about 0,5mm thick. Once I have it printed I glue the page on another (empty) 300gsm paper to reach 1mm thickness. I then put a couple of heavy books on it, so that it dries nice and flat. Of course you can use 1mm thick paper if you have it available.
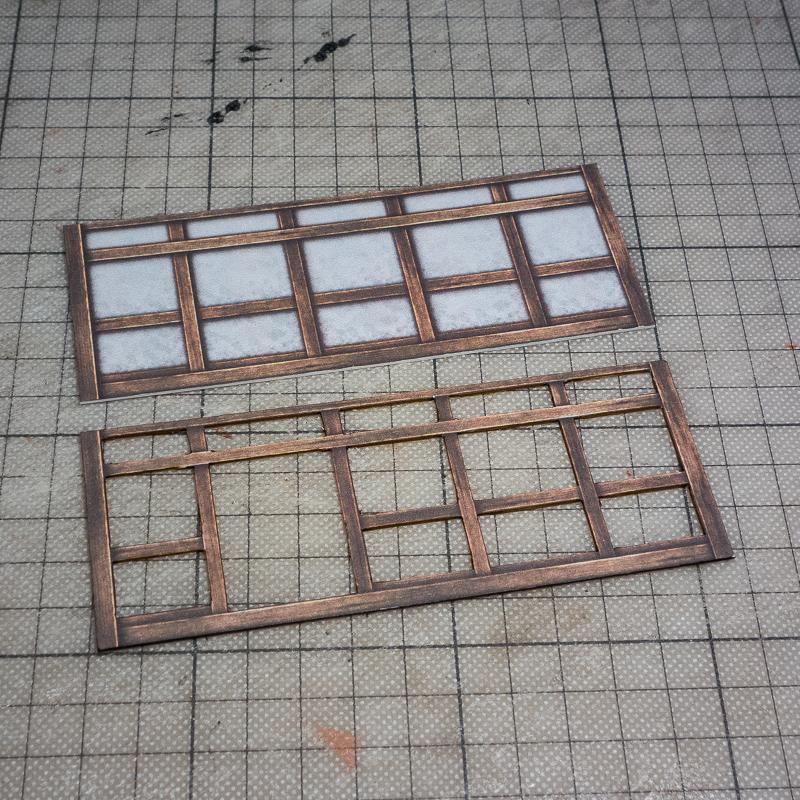
When the glue has dried, I start cutting out all the framework. Here you see a wall part where I first cut out the part as a whole and then I cut out the rectangles between the framework.

Notice how the edges you have cut are white! To cover that up color the edges. I use simple felt pen highlighters, but you can use anything you have available to cover up the white. Now it will look like this.
If you compare the colored edges, it might not seem like much now, but once it is mounted to the textured wall background, you would see the white lines pop up like a neon light!
Now it’s time to glue the framework to the background part. I have already printed and prepared the part. I then carefully apply glue to the back side of the cut out framework and glue it to the background part. Again I use a heavy book to press the parts together and let it dry.

Repeat this for all sides of the wall and then you are ready to glue the walls together. Here I have also doubled up the roof details. Doesn’t it look great compared to the rapid build?

You can use this method to bring out details on many paper models. Here I have built Shunichi Makino’s great “Millenium Falcon” model and also used doubling up of parts to add details.

I hope you this tutorial will help you improve your paper crafting skills!
Happy building,
Chris