Making bottles out of toothpicks and paper.
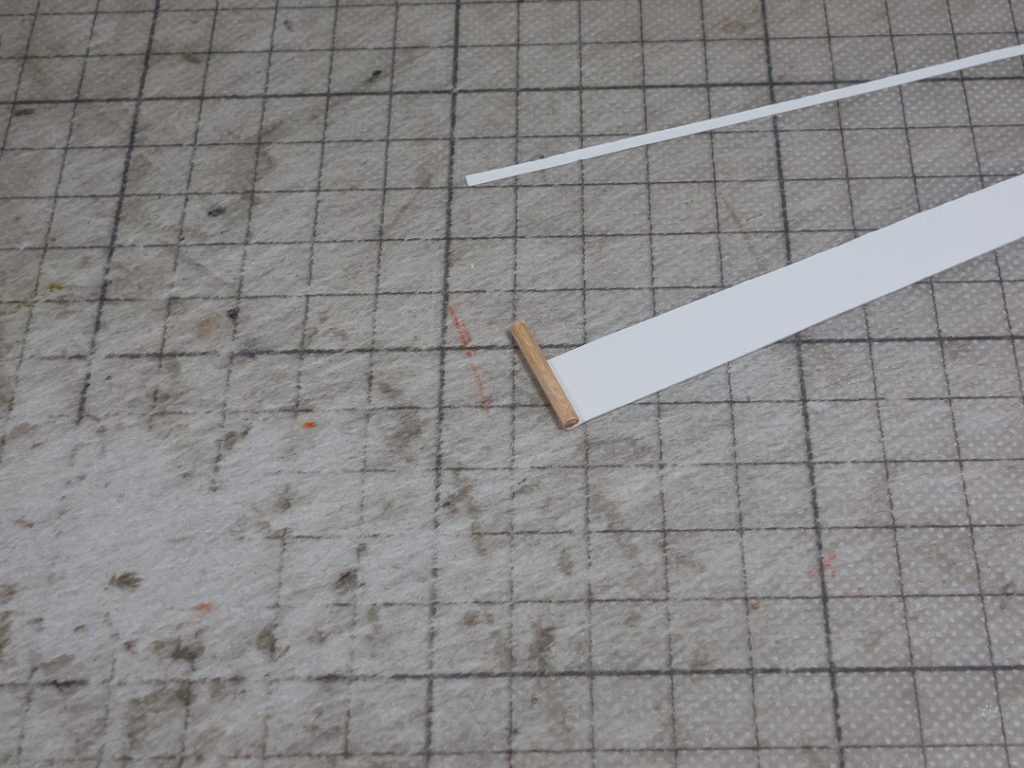
Start with cutting a toothpick to the right size. For 28-30mm figures I go for 8-12mm length.

Next I cut out a bottle wrap shape and a thin (2mm) strip for the top of the bottle. Here is a file with some shapes to try.

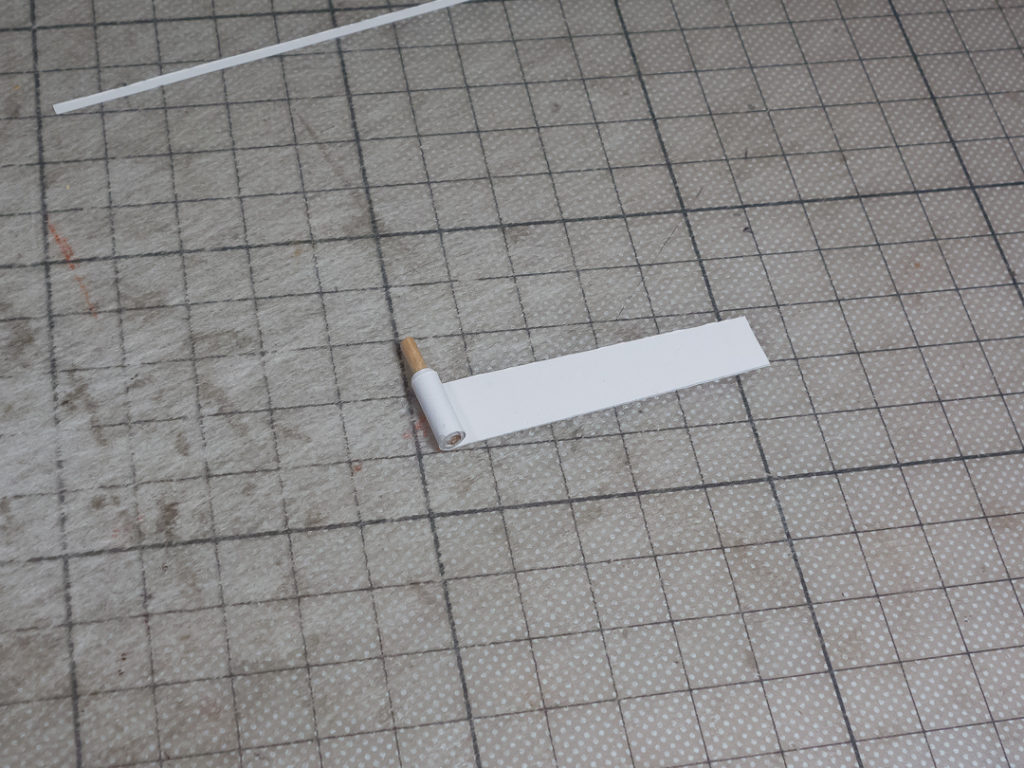
Then I start with the main bottle shape part and glue it on with white glue.

Next I use white glue and wrap the shape around the toothpick, thus forming the body of the bottle.

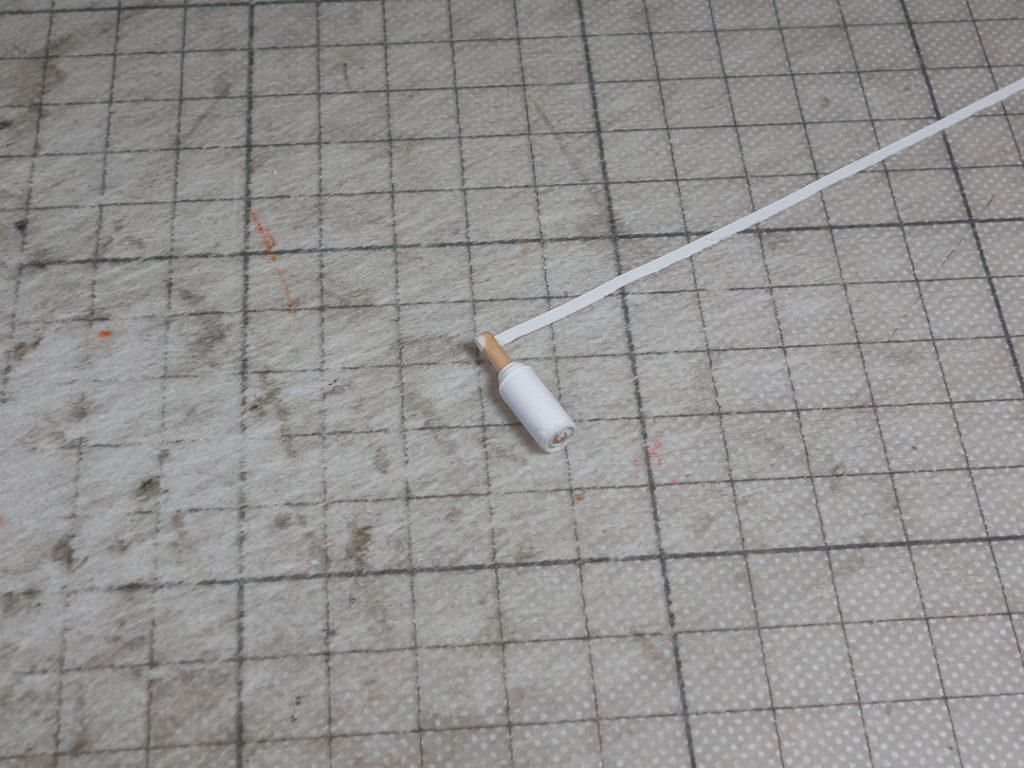
When finished with the body I glue the top strip on.

I don’t use much of the top strip as the bottle top doesn’t need to be as thick as the body. When you have enough “shape” for the top, cut the remaining strip off.

Make as many bottles as you need and experiment with different shapes.

Next color the bottles. I use markers but you can use any color you like, like acrylic paint. I leave the top part of the toothpick uncolored as it looks like the cork, so be careful when coloring that area.

Finally you can cut out small rectangles for bottle labels, add some text or images (like a skull for poison) and glue them on.

And you have a nice set of bottles now. Make as many as you need to dress up your sets with detail!


