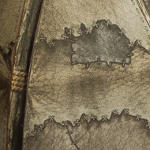
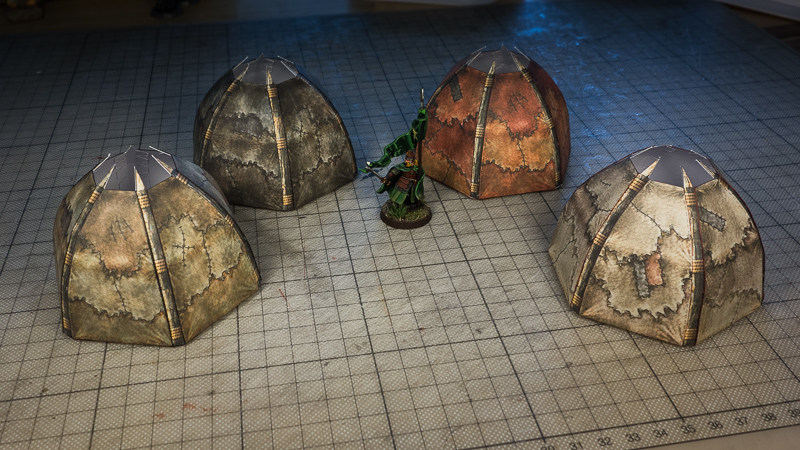
Once I have the basic texture figured out it is time to start tweaking the details. Have a look at the evolution of the texturing for the small huts.
After showing the first results I get a lot of feedback that will help me to fine tune the early texture concepts into something I can apply to an actual model with the right scale and detail. As the small huts would be the first set to be released I focused on getting the texture right for this model.
Here you can see the evolution of the first texture sketches to the finally used texture version. I made the single patches of leather hide smaller and added some stitches and seams where the wear and tear of exposure to the elements would have been fixed. Finally I also added a dirt layer to give it a more weathered look.
I then went on to start creating color and shading variations, so that every hut could look a little different and you would be able to build different villages for different “cultures” or climate zones. In addition to the regular sand brown version you can see a reddish hut here. Perfect camouflage for landscapes like monument valley or arches national park … or Mars?
And finally I added some optional layers for decoration elements, like stripes and signs, in different colors. I tried this green version will yellow paintings. It could either be dyed leather for a forest settlement or even green leather from a dragon! Also notice the entrance sign, depicting what I imagine an orc skull would have to look like.
Another texture I wanted to create was the ground, so that I could make more realistic looking bases. For now I focused on a dry, rocky desert or Savanna look.
A first quick sketch looked likes this showing the direction I wanted to go but – being very boring and dull – but allowing me to test a new workflow I was using in Blender.
After compiling and studying lots of photos from terrain I wanted to emulate I knew I needed a visually interesting base color texture and more clutter rocks of different scale. This is one of the first results I really liked.
Just to have some variation I also added a layer with a sparse population of desert plants. And also added an optional grid for gaming that was subtle yet still readable.
With all the test builds I have done so far I wanted to see if I could stage a little settlement scene. I arranged nine ground tiles (6×6″ each) into a 18×18″ space and then put some small huts on it. After looking through my minis I decided to use the goblins as the obvious home team of the village and had some dwarves come by for peaceful trade talks or or a not-so-peaceful retaliation raid! You decide 🙂
I hope you have enjoyed this article. If you like it and have missed the first part, head over to the first part.
As always let me know if you have feedback. I now need to make the instructions and get everything ready for the release of this “Savages Settlements: Small huts” set. See you soon when I start with the larger huts!


