
After working on and finalizing my workflow, today I will share where I am now and what is on the table. Want to have a peek?
 (miniatures from the free Basic Adventure Set by Dave Okum)
During the last months I was trying all kinds of new stuff, creating lots of prototypes and trying to turn my ideas into real models. I then wanted to work on and fine tune my workflow, select the software I would work with and finally start developing real texturing skills.
I started modelling with Sketchup but although there is an unfold script available I never felt very compatible with it. It’s a great tool and allows very fast prototyping but still I just didn’t fall in love with it. I then went back to Blender and found that, even after a long break, I immediately felt at home. In addition I was very happy to find that there now is a great paper model unfold script available (not to be confused with the UV texture unfold)! It produces SVG files which I could then further process with Inkscape.
After getting my model-to-unfold workflow down, I started to try texture painting with Gimp but unfortunately there are some problems with supporting my Wacom tablet fully. I tried Photoshop which can read my tablets mind 🙂 but after some tests I found that I would need more training until I am able to digitally draw as I am able on paper. A comment by one of my friends on the cardboard warriors forum made me rethink my approach and I tried “painting” textures in Illustrator. To my surprise this worked very well and I was able to come up with a result that matched the graphical style I had envisioned for my paper figures.
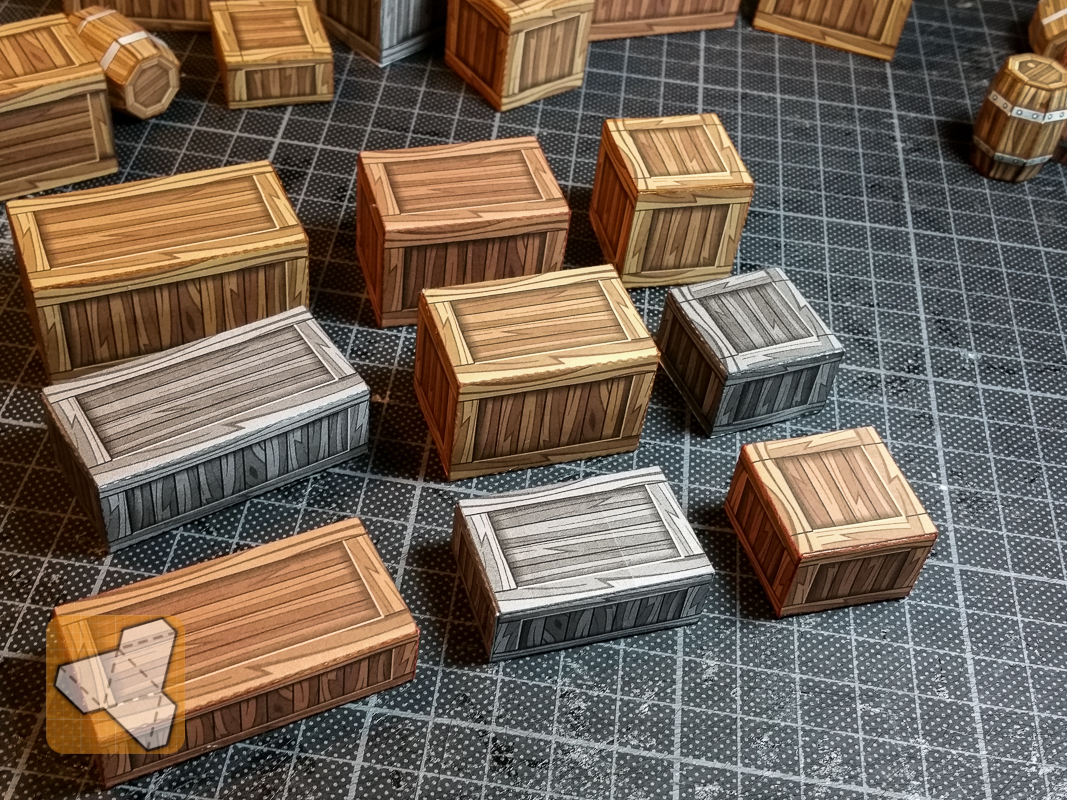
I started with a simple wood texture and created the simplest of models: a set of crates. I will add some more texture variations later and make it available as the “ultimate huge mega crates bundle” … or something of that kind.
As you might have noticed I also had a go at barrels. For them the challenge was to make them sturdy, as the simple “skin” unfold would leave me with a very squishy model. I used a scaled down version of the inner supporting structure I developed for columns and wooden posts earlier. More on that some other time …. but the barrels are very sturdy now!

As I was working on a large boat during the summer I wanted to try the texturing on a small boat. With the help of Blender and my new BFF the “Silhouette Portrait” I was able to create this row boat model quickly. The upper version of the boat has a clean wood texture and the lower version has some weathering and dirt on it.
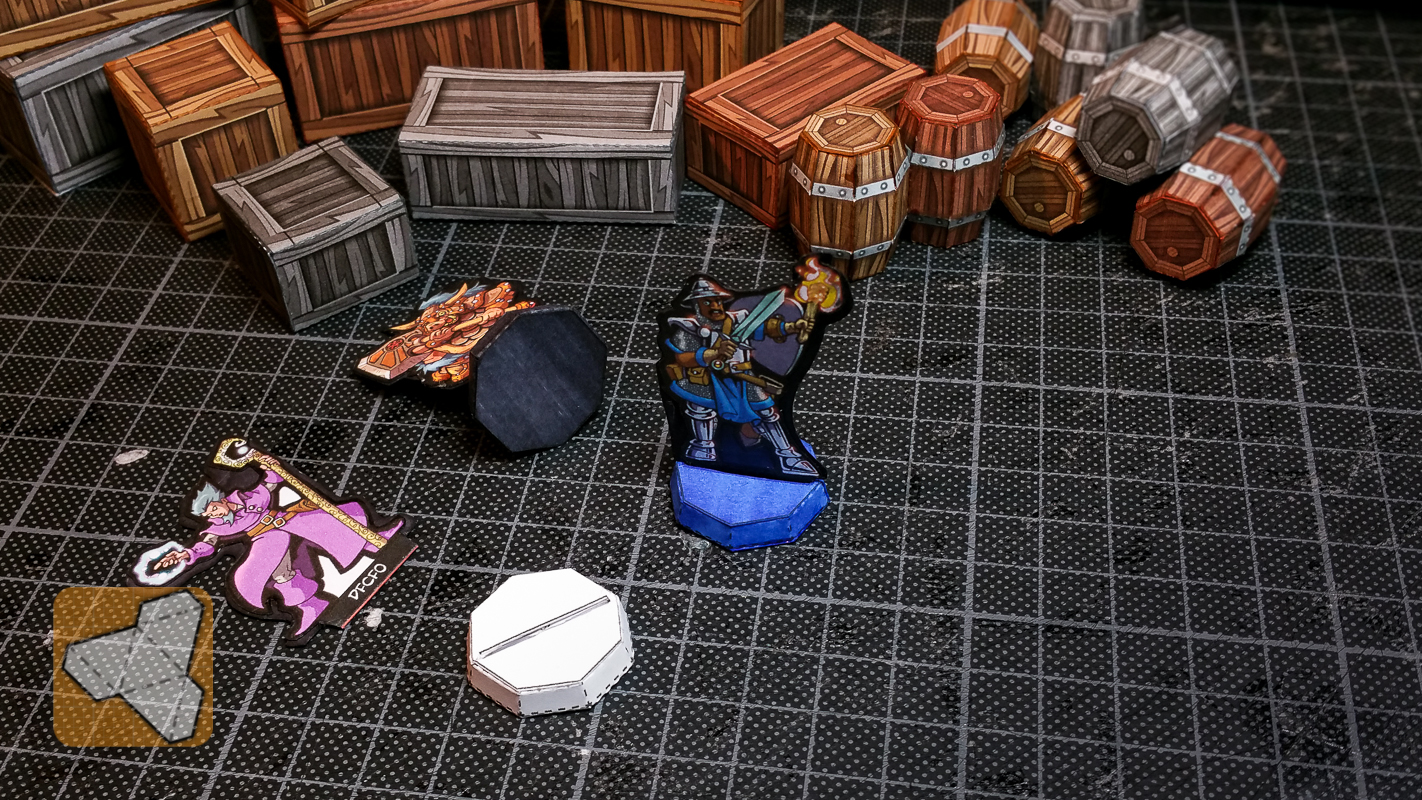
Finally I was working on bases for paper minis – for demonstration purposes and as I have no finished minis of my own I am using some of Dave Okum’s free Basic Adventure Set as they are close to the style I want to use. There are a couple of paper base versions out there which are very simple and elegant but I wanted to see if I could come up with something that looked more like the bases I was used to from my metal minis. Again with inner supporting structure I made these – for now single colored. I want to create textures (grass, dirt, road etc) later. The inner structure allows for filling and gluing something small but heavy into the base (I will go hunt for small metal balls or similar the next days) so that the figures will have some weight.
That’s it for now. Let me know what you think in the comments.